Zoom – การแชร์หน้าจอคอมพิวเตอร์ (Share Screen)
ผู้สอนสามารถทำการแชร์หน้าจอกับผู้เรียน โดยสามารถแชร์แบบตัวต่อตัว แบบเลือกแอปพลิเคชั่น หรือแชร์ให้ผู้เรียนทุกคน
ขั้นตอน
1. ในหน้า Meeting ให้คลิกที่ Share Screen
– One participant can share at a time ผู้เข้าร่วมสามารถแชร์หน้าจอได้ครั้งละ 1 คน (ค่า Default)
– Multiple participant can share simultaneously ผู้เขาร่วมสามารถแชร์หน้าจอได้ครั้งละหลายคน
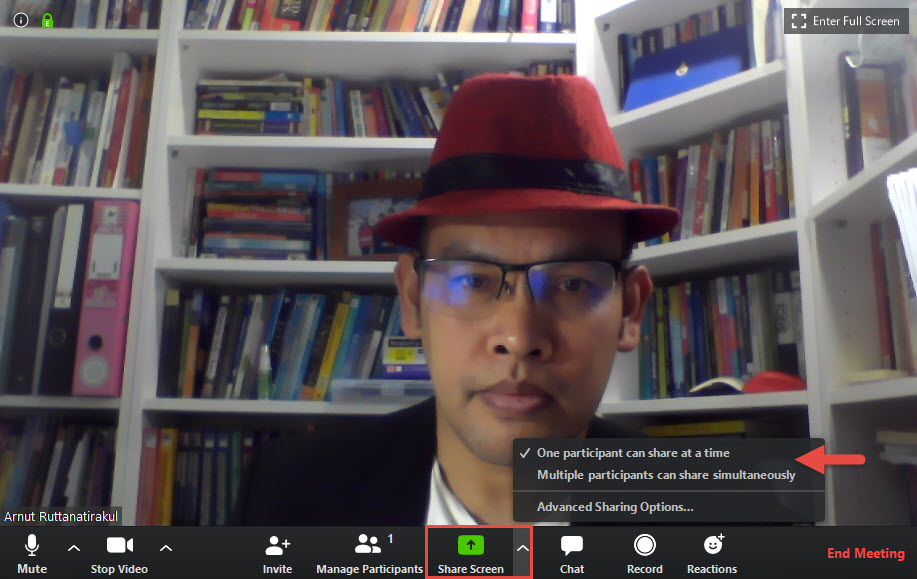
2. ให้คลิกเลือกที่ Advanced Sharing Options… เพื่อกำหนดค่าเพิ่มเติม

— กรณีต้องการให้ ผู้เข้าร่วม (ผู้เรียน/พนักงาน) สามารถแชร์หน้าจอได้ครั้งละ 1 คน (ค่า Default)
One participant can share at a time
( ) Only Host – ผู้สอน(ผู้สร้างห้อง Meeting) เท่านั้นที่แชร์ได้
( ) All Participants ทุกคนสามารถแชร์ได้
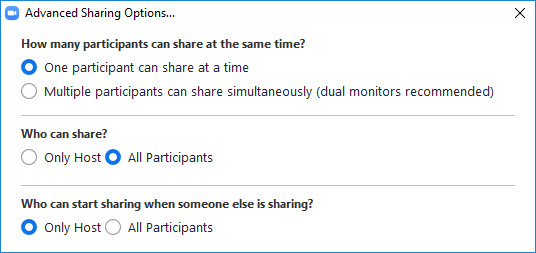
— กรณีต้องการให้ผู้เข้าร่วมสามารถแชร์หน้าจอได้ครั้งละหลายคน
Multiple participant can share simultaneously (Dual monitors recommended) ใช้จอภาพคู่สองจอ

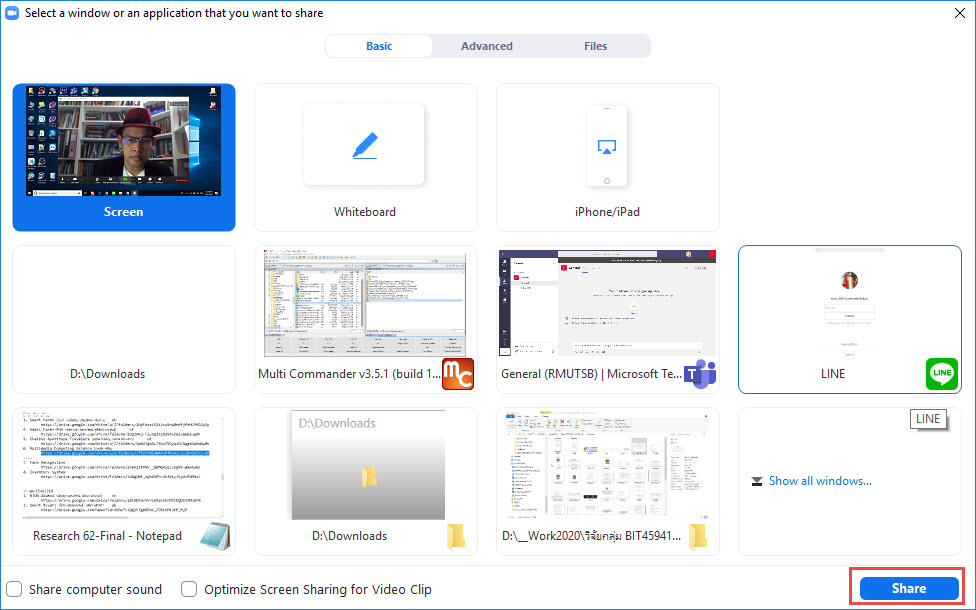
2. ทดสอบเลือกแบบ (/) One participant can share at a time
ให้คลิกที่ Share Screen

3. คลิกที่ปุ่ม Share มุมขวาด้านล่าง
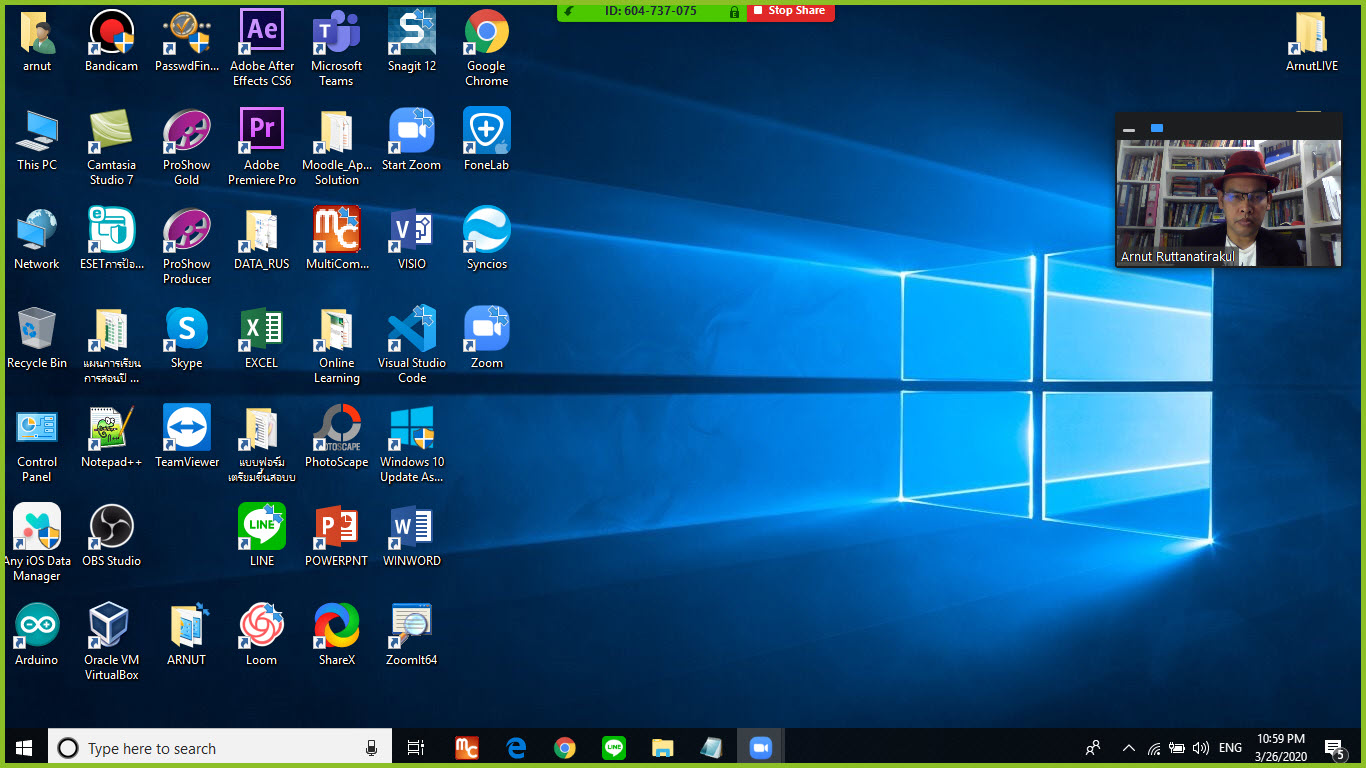
4. หน้าจอขณะทำการ Share Screen อยู่ (สังเกตุจะมีกรอบสีเขียวครอบอยู่)
5. รา่ยการเมนูใช้งาน จากด้านล่างจะแสดงด้านบนแทน

6. ทดสอบเปิดไฟล์ เพื่อแชร์กับผู้เรียน/พนักงาน
7. กรณีต้องการ Comment หรือแสดงความเห็นในเอกสารที่แชร์ ให้คลิกที่ Annotate
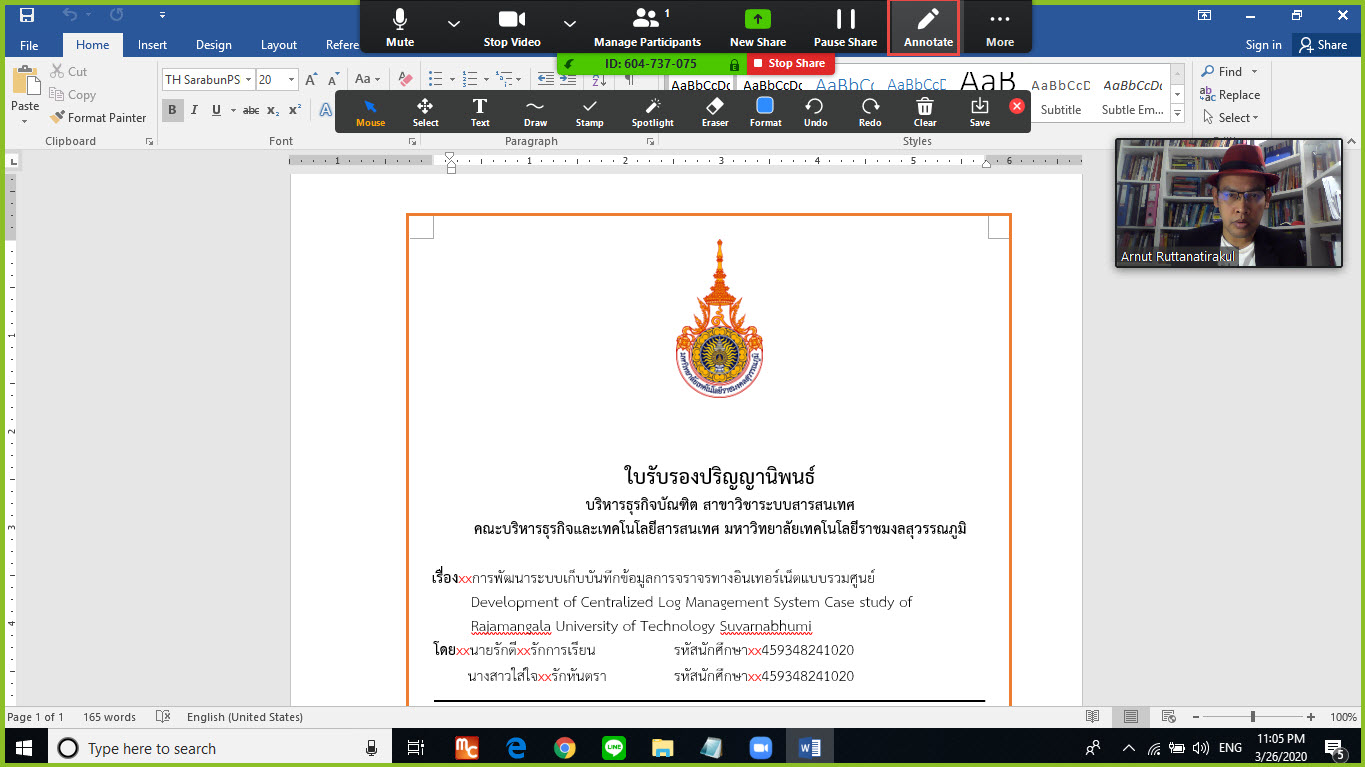
8. ทดสอบแสดงความเห็น
9. กรณีต้องการบันทึกข้อมูลไว้ให้คลิกที่ Save

10. กรณีต้องการปิดการแชร์หน้าจอให้คลิกที่ Stop Share